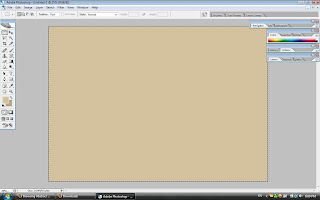
1. I go to marquee tool to select the whole background, then alt+space to fill in the foreground color.
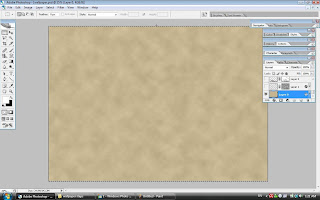
2. Then I go to Filter-Render-Clouds to blend the background color with the foreground color.
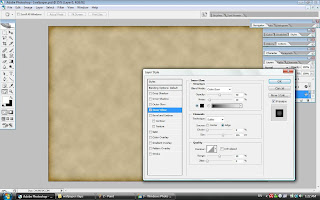
3. Then I open layer style, enable the inner glow effect then go to blend mode then color burn, then adjust the opacity, noise and size until I get what I wanted.
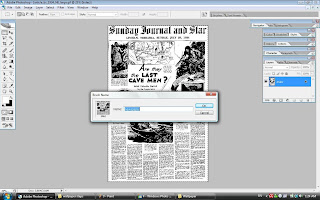
4. I open a newspaper picture, then I define brush preset and name it as newspaper.

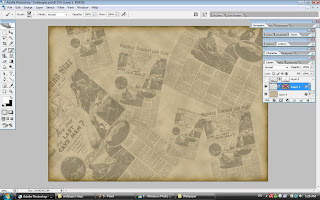
5 & 6. I create new layer then i use brush tool then I choose the newspaper brush that I just created. Open brush preset, set the angle to what I want it to be.
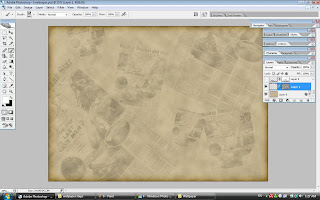
7. I add vector mask to the layer of the newspaper brush. Filter-Render-Difference Clouds.
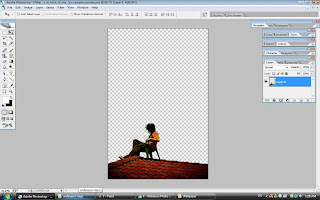
8. I use the polygonal lasso tool and eraser tool to delete off the background.
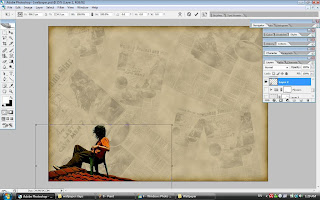
9. I use the move tool to drag the picture to the place I was working on just now. Then ctrl+T to resize the picture.

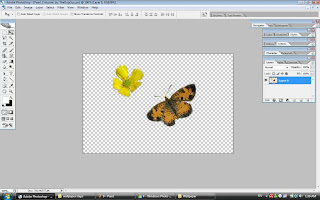
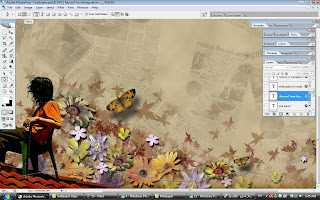
10. I use brush tool, choose maple leaf brush then randomly apply on it.

11. I create vector mask on the layer, then I use back the same brush and try to lighten up some maple leaf to prevent it too cramp and also make it looks like got some movements.
12. I use the polygonal casso tool and eraser tool to delete off the background.
13. Then I use tool to drag the picture. Then I ctrl+T to resize the picture by holding shift. Then I apply drop shadow effect.
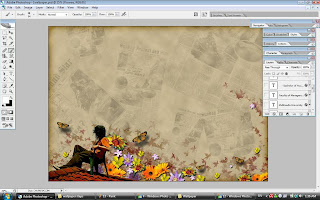
14. I create a new layer and the mode of the layer I choose color. Then I use brush and turn the opacity to around 34. I paint each of the flower to make the color of the flower to be not that striking.
15. I create a layer mask on the flowers folder. Then I use brush to paint on some of the flowers to make the visibility of the flowers going down.
16. I turn on the pen tool and at the menu bar, i choose path, then i drew a nice curve line, then use direct selection tool to modify the curve line into more precise to what I want.
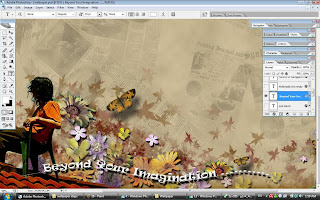
17. I turn on the horizontal type tool. Then move the cursor on the curve line that I drew just now and click on it. Then only can type the wording according to the curve line. Then I apply drop shadow, bevel and emboss effect to the wording.
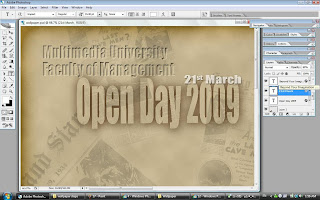
18. I use the horizontal tool to insert the wordings, on the top left corner, then I apply inner shadow and inner glow effect at the wordings and turn the fill opacity to 0%. Then for the 'Open Day 2009', I apply drop shadow and change the color to dark brown, then turn the fill opacity to 0%. Then the '21st March', I appy drop shadow and the opacity is 60%.
19. I use marquee tool to select the right part of the wallpaper, then alt+space to fill in the foreground color which is white color, then turn the opacity to 20 %.
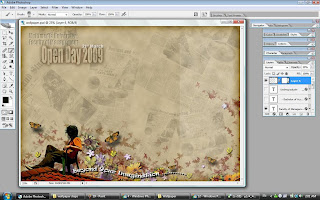
20. I create layer mask on the layer, then use suitable brush tool to make the cloud effect and also lighten up the side part. Then I make sure the foreground color is in black color.
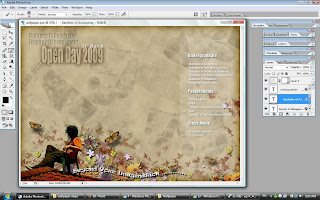
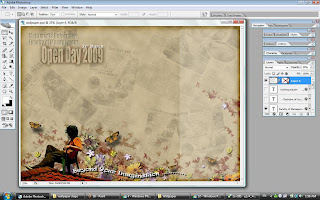
21. I use the horizontal type tool again to insert wording ;
- Undergraduate
- Post graduate
- Study mode
Then I apply drop shadow, bevel and emboss effect. Lastly I put in the MMU logo.


 This is my final work. ^^
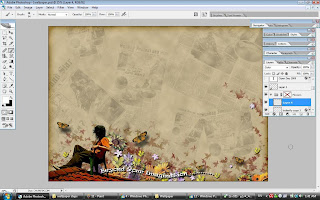
 Thanks for looking.
 I draw a fire using the lassio tool then define it as a brush.
 Then I place the fire on the man's hand using brush tool.
 I use brush tool to draw a globe.
 I drag the money image into this picture then i resize a bit.
 I put the money merge into the globe.
 I draw a rain drop and then define it as a brush, then i put the rain drops all around the man's head.
 I use brush to re-draw the cloud.


 14. I create a new layer and the mode of the layer I choose color. Then I use brush and turn the opacity to around 34. I paint each of the flower to make the color of the flower to be not that striking.
 16. I turn on the pen tool and at the menu bar, i choose path, then i drew a nice curve line, then use direct selection tool to modify the curve line into more precise to what I want.


 I take this picture to do tutorial 4. I use gradient overlay then I use inner shadow, and this is the results.
 Then I apply 5 effects into this image, first is gradient overlay, then inner shadow, then drop shadow, then outer glow, and lastly bevel and emboss. Then the result is this image.
 Then I use the background and I choose green channel because green channel has more nice grey scale effect. Then I select the background then i define it to pattern.
 Then I create another layer then I use the rectangle tools, then I use brush to make like that.
 Then, I use blending option then I make the pattern to be like water and this is my final work.
 I use this picture and follow accordingly to the video, I make the wordings shown out
 Then I draw horizontal lines over the wordings, then I use some strokes distortion, then I change the strokes for the wordings, then I blend the wordings to make it look like painted on the wall. This is my final work for my first picture.
 My second pictures are vancouver and the dollar note. I drag the dollar note into the vancouver. Then I go to the channel to show the word 'Savings'. Then I create a new layer for the word.
 After I done all the steps below, I put all the other pictures into this KLCC and flag picture. Then I used opacity to make the pictures all look more light and looks more better.


